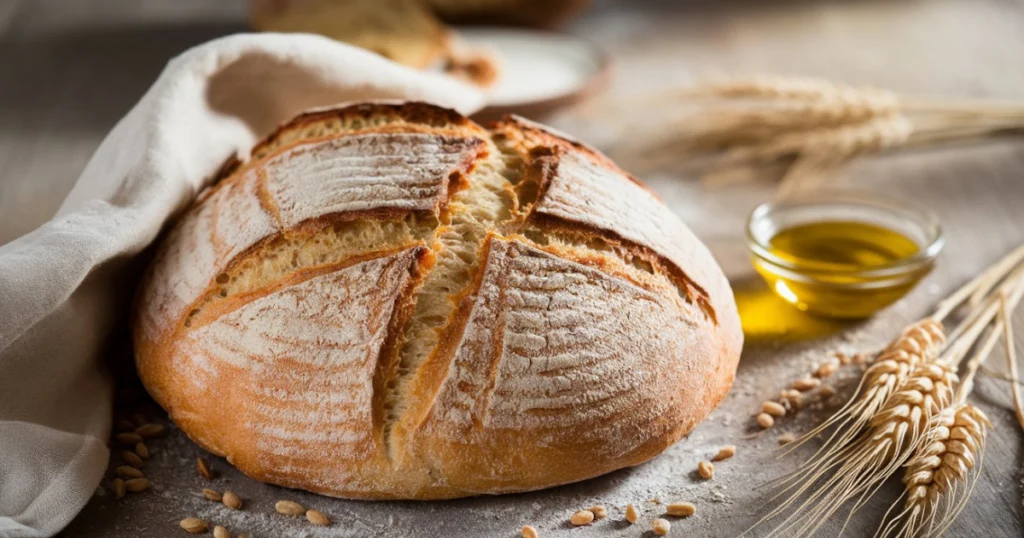
Have you ever craved a bread that’s both wholesome and irresistibly soft? Honey wheat bread is just that—a perfect blend of nutritious whole wheat flour and the natural sweetness of honey. It’s not just bread; it’s a heartwarming experience, from the moment you mix the dough to the first slice of freshly baked perfection.
This recipe is a delightful choice for beginners and seasoned bakers alike, offering a healthy, preservative-free alternative to store-bought loaves. Whether you’re crafting sandwiches, pairing it with soups, or simply enjoying it warm with butter, this bread brings comfort and versatility to your table. Let’s dive into the joy of homemade baking together!
Table of Contents
Key Benefits
Why choose honey wheat bread over other options? Let me tell you—it’s all about balancing flavor, nutrition, and the simple joy of baking at home. Here are some compelling reasons why this bread deserves a spot in your kitchen:
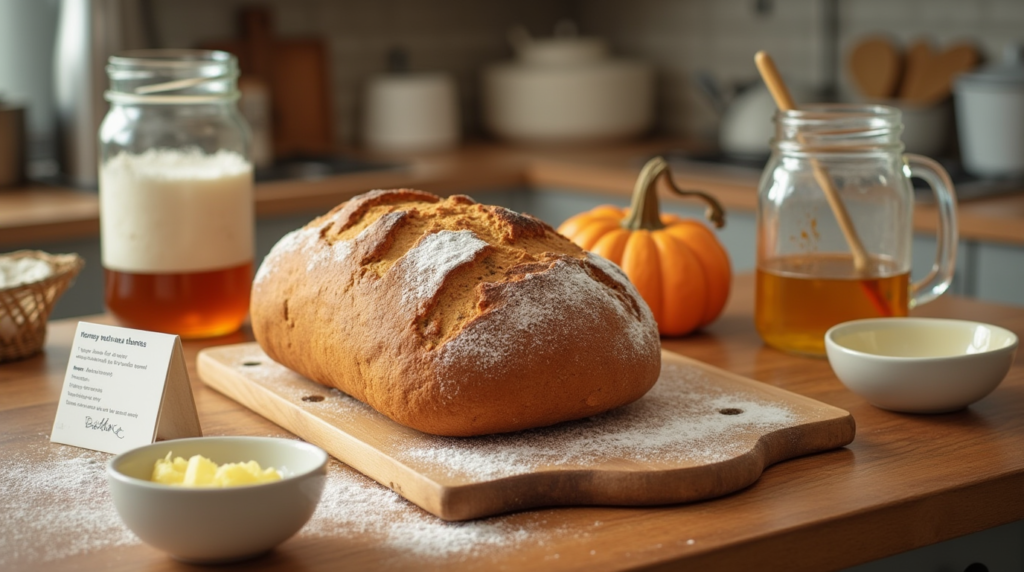
- A Healthier Choice: Made with whole wheat flour and sweetened naturally with honey, this bread is packed with nutrients like fiber and essential minerals. It’s a heart-smart choice for anyone looking to enjoy wholesome, preservative-free bread.
- Perfect for All Skill Levels: Whether you’re a beginner or a seasoned baker, this recipe is approachable and foolproof. With clear steps and minimal ingredients, it’s a confidence-booster for anyone looking to master bread baking.
- Versatility at Its Best: From a toasted breakfast slice with butter and jam to a hearty base for sandwiches, honey wheat bread adapts to any meal. Its soft yet sturdy texture makes it perfect for sweet and savory pairings.
- Budget-Friendly and Sustainable: Skip the expensive bakery loaves and enjoy the satisfaction of making your own at a fraction of the cost. Plus, you control every ingredient, ensuring your bread is as fresh and clean as possible.
Baking this bread isn’t just about creating food—it’s about crafting moments of joy and nourishment for you and your loved ones. Ready to experience the magic? Let’s get baking!
Ingredients
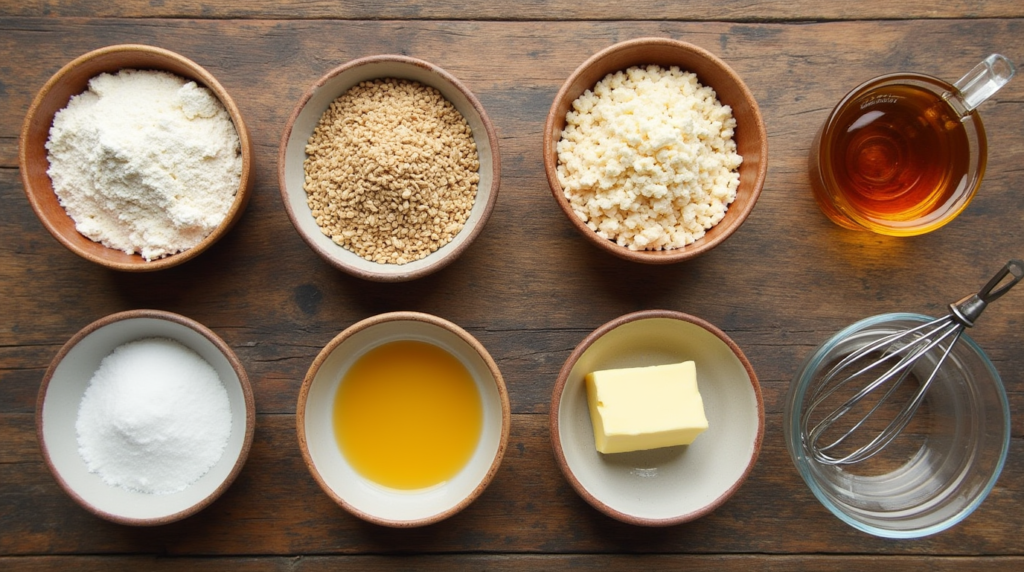
Before diving into the recipe, let’s gather all the ingredients you’ll need. This step is crucial for a smooth and enjoyable baking experience. Here’s your list:
What You’ll Need:
- Whole wheat flour (3 cups): The foundation of this bread, providing a nutty flavor and essential nutrients like fiber and protein.
- All-purpose flour (1 cup): Helps balance the density of whole wheat flour for a softer texture.
- Raw honey (1/4 cup): Adds natural sweetness and a hint of floral flavor to the bread.
- Active dry yeast (2 1/4 teaspoons): The magic ingredient that makes your bread rise beautifully.
- Warm water (1 1/4 cups): Activates the yeast and creates a soft dough. Aim for water that’s warm, not hot, to avoid killing the yeast.
- Milk or plant-based milk (1/2 cup): Adds moisture and richness to the loaf.
- Salt (1 1/2 teaspoons): Enhances the flavors of all the other ingredients.
- Butter or olive oil (2 tablespoons): Keeps the bread tender and adds a subtle richness.
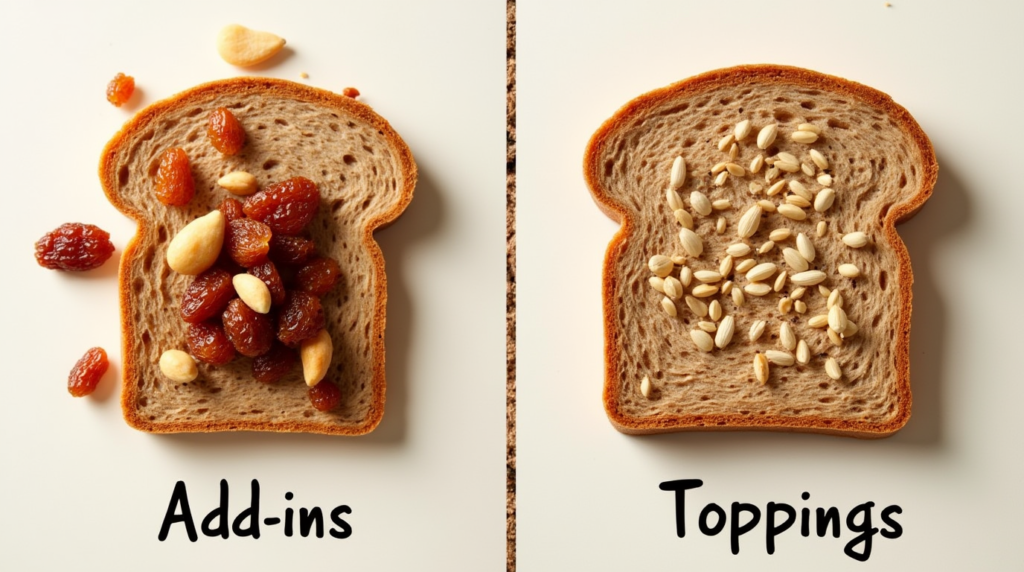
Optional Add-Ins:
- Seeds or nuts: Add crunch and extra nutrition with ingredients like sunflower seeds, flaxseeds, or chopped walnuts.
- Dried herbs or spices: Experiment with rosemary, cinnamon, or other flavors to suit your taste.
Quick Tips for Ingredient Prep:
- Measure your flours accurately by spooning them into the measuring cup and leveling off with a knife.
- Ensure your yeast is fresh—expired yeast won’t give you the desired rise.
- Use high-quality honey for the best flavor.
With these ingredients on hand, you’re ready to create a loaf of honey wheat bread that’s as nourishing as it is delicious. Let’s move on to the step-by-step instructions!
Instructions
Making honey wheat bread at home is a simple and rewarding experience. Let’s take it step by step to ensure you get a soft, golden loaf every time.
Step 1: Activate the Yeast
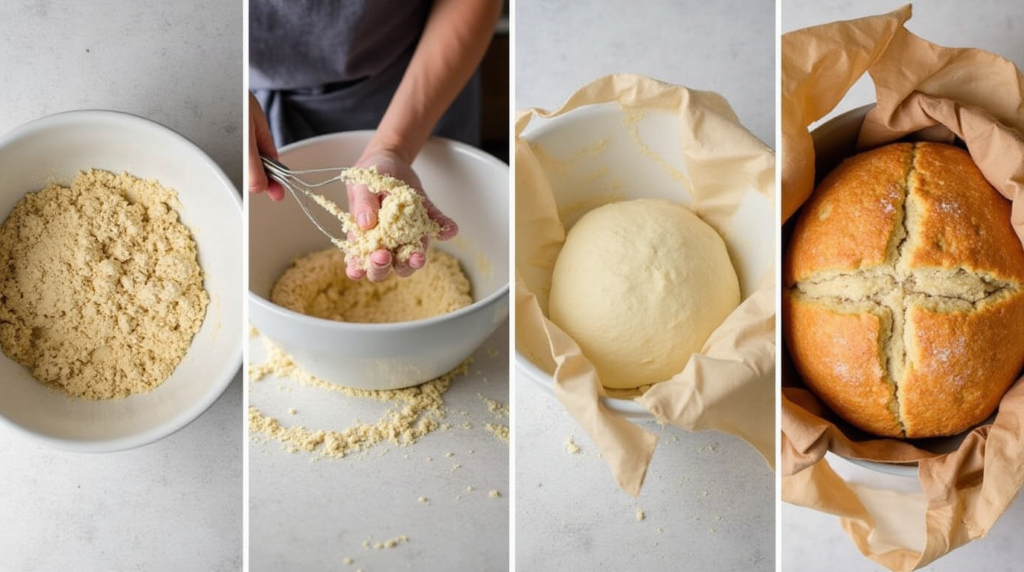
- In a large bowl, mix warm water (about 105–115°F) with honey until the honey dissolves.
- Sprinkle the yeast over the surface and let it rest for 5–10 minutes. Once it becomes bubbly and foamy, your yeast is active and ready to use.
Step 2: Combine Ingredients
- Stir the milk, melted butter (or oil), and salt into the yeast mixture.
- Gradually add the whole wheat and all-purpose flour, one cup at a time, mixing well after each addition. Once it starts forming a soft dough, you’re ready to knead.
Step 3: Knead the Dough
- Place the dough on a floured surface and knead for 8–10 minutes by hand until it’s smooth and elastic. If you’re using a stand mixer with a dough hook, knead for about 5–6 minutes on medium speed.
- The dough should feel slightly sticky but manageable. If it sticks too much, sprinkle in a little extra flour, a tablespoon at a time.
Step 4: Let the Dough Rise
- Lightly grease a bowl and place the dough inside, turning it to coat the surface lightly with oil.
- Cover the bowl with a damp cloth or plastic wrap and let the dough rise in a warm spot for 1–2 hours, or until it doubles in size.
Step 5: Shape the Loaf
- After the dough has doubled in size, gently deflate it to let out the air.
- Shape it into a loaf and transfer it to a greased 9×5-inch loaf pan, spreading it out evenly.
Step 6: Second Rise
- Cover the loaf pan with a clean towel and let the dough rise for another 30–45 minutes. It should rise to the edge of the pan and look slightly puffed.
Step 7: Bake the Bread
- Preheat your oven to 375°F (190°C).
- Bake the loaf for 30–35 minutes, or until the top is golden brown and the bread sounds hollow when tapped.
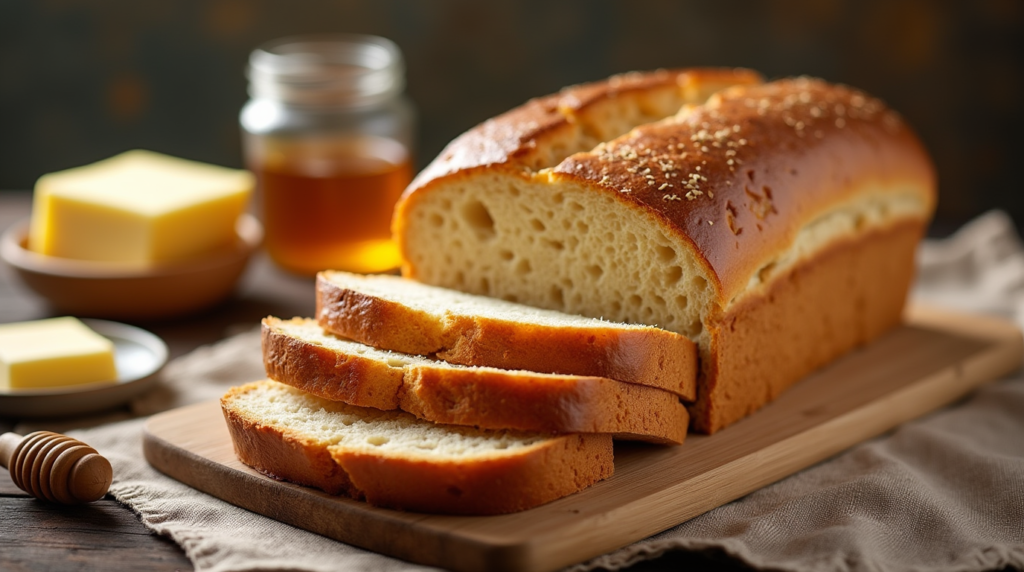
- Let the bread sit in the pan for 10 minutes to cool before transferring it to a wire rack. Allow it to cool fully before slicing.
Pro Tips for Success
- Perfect Water Temperature: Test the water with your fingertip; it should feel warm but not hot.
- Ideal Rising Conditions: If your kitchen is cool, place the bowl inside a turned-off oven with the oven light on for gentle warmth.
- Slicing Ease: Always use a serrated bread knife for smooth, even slices.
With these straightforward steps, you’ll have a beautiful, homemade honey wheat bread that’s soft, wholesome, and perfect for any meal. Enjoy it!
- Water Temperature: To ensure your yeast is activated properly, the water should feel warm but not too hot. Aim for around 105–115°F. Too hot, and it will kill the yeast; too cold, and it won’t activate properly.
- Kneading the Dough: If you find the dough is too sticky, don’t be tempted to add too much flour. Just knead it for a bit longer, as this will develop the gluten and make your bread softer.
- Dough Rising Tips: If your kitchen is cool, speed up the rising process by placing the dough in an oven with the light on. The warmth will help it rise beautifully without needing to wait for hours.
- Check for Doneness: Tap the top of the loaf with your knuckles—if it sounds hollow, it’s ready. If not, give it a few more minutes in the oven.
Fun Variations to Try
- Add Seeds or Nuts:
- For added crunch and nutrition, try folding in seeds (like sunflower or flax) or chopped nuts (like walnuts or almonds) into the dough before the first rise. This adds a delightful texture and boosts the bread’s health benefits.
- Herb-Infused Bread:
- Want a savory twist? Mix in a tablespoon of your favorite dried herbs like rosemary, thyme, or oregano during the kneading stage. This infuses the bread with amazing flavor.
- Cinnamon Honey Wheat Bread:
- For a subtly sweet variation, add 1–2 teaspoons of ground cinnamon to the dry ingredients. The warm spice complements the honey beautifully and makes for a fantastic breakfast bread.
- Gluten-Free Option:
- You can substitute a gluten-free flour blend for the all-purpose flour, but be sure to also add a teaspoon of xanthan gum to help the bread hold together. Keep in mind that the texture may differ slightly, but the flavor will still be delicious.
Storage and Serving Ideas
- How to Store: To keep your honey wheat bread fresh for several days, wrap it in a clean kitchen towel and store it in an airtight container. You can also freeze the loaf for up to three months—just slice it before freezing for easy access to individual pieces.
- Serving Suggestions: This bread is perfect on its own, but it’s also fantastic with a spread of butter, peanut butter, or jam. For an extra special treat, toast the bread and top it with a drizzle of honey or cream cheese.
By following these tips and experimenting with variations, you can customize your honey wheat bread to fit your taste. Whether you like it simple or loaded with extras, this recipe is a great foundation for creating delicious homemade bread that your whole family will love!
Pro Tips and Variations
Whether you’re making honey wheat bread for the first time or you’ve baked it before, there are always ways to elevate the recipe. Let’s dive into some expert tips and creative variations to make this loaf your own!
Pro Tips for Perfect Honey Wheat Bread
- Get the Water Temperature Just Right:
Yeast is sensitive to temperature! Warm water between 105–115°F is perfect for activating yeast without killing it. You can test it with your fingertip—it should feel comfortably warm, like bathwater, but not hot. - Knead with Patience:
If the dough feels sticky, resist the urge to add too much flour. A slightly tacky dough is normal and will lead to a lighter, softer bread once kneaded for 8–10 minutes. - Perfect Rising Environment:
If your kitchen is on the cooler side, place the bowl of dough in the oven with the light on to create a warm, draft-free environment for rising. The dough will rise much faster! - Tap to Test for Doneness:
When your bread is baking, tap the top gently with your knuckles. This trick works every time to ensure your loaf is baked through.
Fun Variations to Try
- Add Seeds or Nuts for Extra Texture:
- Mix in sunflower seeds, flaxseeds, or chopped walnuts during the dough-mixing stage. Not only does this add texture, but it also boosts the bread’s nutritional value.
- Herbed Honey Wheat Bread:
- Love savory flavors? Add a teaspoon or two of dried herbs such as rosemary, thyme, or basil. It infuses the bread with earthy goodness, making it a perfect pairing with soups and salads.
- Sweeten It Up with Cinnamon:
- For a warm, comforting twist, stir in a teaspoon of ground cinnamon. The fragrant spice complements the honey and whole wheat flavors, creating a perfect breakfast or snack option.
- Go Gluten-Free:
- If you have dietary restrictions, you can replace the all-purpose flour with a gluten-free flour blend. Just remember to add a teaspoon of xanthan gum to help the bread maintain its structure. Keep in mind, the texture may vary slightly from the traditional recipe, but it will still be delicious!
Storage and Serving Ideas
- How to Store Your Loaf:
- To keep your bread fresh, wrap it in a clean kitchen towel and store it in an airtight container for up to 3 days. If you want to store it longer, slice the loaf and freeze it for up to 3 months. This way, you can enjoy fresh slices whenever you like.
- Serving Suggestions:
- Honey wheat bread is delicious as-is, but why not take it to the next level? Toast it and spread on a little butter, peanut butter, or your favorite jam. It also makes the perfect base for a sandwich or a savory toast topped with avocado and poached eggs.
With these pro tips and variations, you can easily customize your honey wheat bread to suit your tastes. The key is to experiment and have fun with it, knowing you’ll end up with a delicious, homemade loaf every time!
Serving Suggestions
Your homemade honey wheat bread is now ready, but how do you serve it for the best experience? Here are a few delicious ideas to take your freshly baked loaf from good to great!
1. Enjoy It Fresh with Butter
Sometimes, the simplest way is the best way. Slice your warm honey wheat bread and spread a little butter on each piece. The butter melts into the soft, fluffy texture of the bread, making each bite irresistible. If you’re feeling extra indulgent, add a drizzle of honey for a little extra sweetness!
2. Make a Hearty Sandwich
Honey wheat bread’s slightly sweet and nutty flavor makes it perfect for a variety of sandwich fillings. Try it with:
- Grilled chicken and avocado – The creamy avocado complements the bread’s warmth.
- Turkey, cranberry sauce, and brie – A festive twist with a balanced combination of flavors.
- Peanut butter and banana – A classic, deliciously satisfying option for a snack or quick lunch.
3. Serve with Soup or Salad
Pair your honey wheat bread with a comforting bowl of soup or a fresh, vibrant salad. Its slightly sweet flavor balances out the savory richness of many dishes. Consider these combinations:
- Tomato soup – A classic pairing that’s both comforting and delicious.
- Lentil soup – The bread’s texture is perfect for soaking up this hearty soup.
- Mixed greens with balsamic vinaigrette – For a lighter, fresh option that pairs wonderfully with the bread’s density.
4. Make it a Toasted Treat
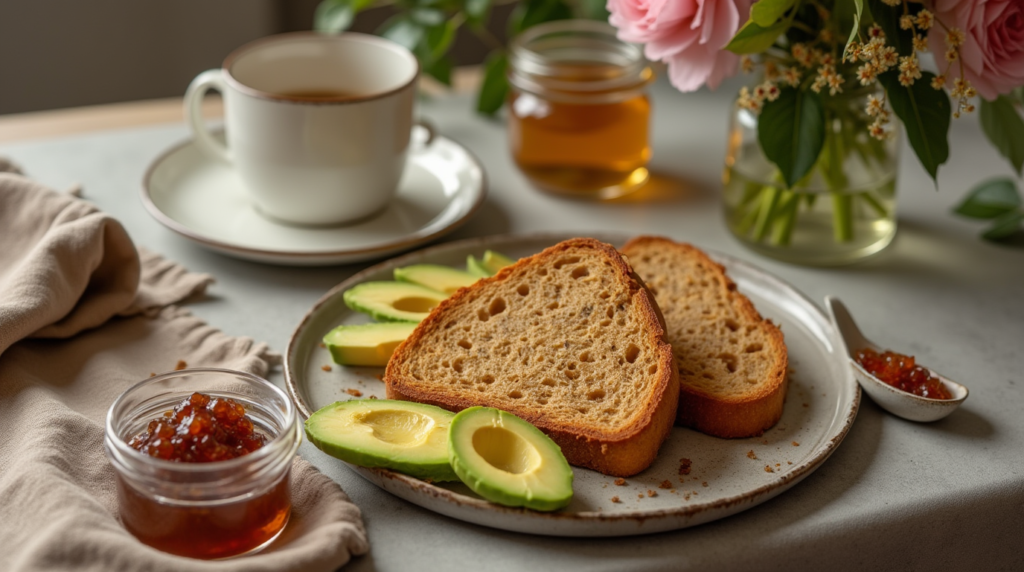
If you want to elevate your honey wheat bread even further, toast it! Toasting gives the bread a crisp texture that’s perfect for a variety of toppings:
- Avocado toast – Top your toasted bread with mashed avocado, a sprinkle of salt, and a dash of chili flakes.
- Egg and spinach – Toasted bread is the ideal base for a savory breakfast with scrambled eggs and sautéed spinach.
- Cinnamon sugar – For a sweet treat, sprinkle a little cinnamon and sugar on the toasted slices for a simple, satisfying snack.
5. Sweet Breakfast Delight
Honey wheat bread also makes a great base for a sweet breakfast. Spread on a little cream cheese and top with fresh berries for a delicious, healthy option. If you want something a bit richer, go for a drizzle of maple syrup and a dusting of powdered sugar.
These serving suggestions are just the beginning! Honey wheat bread is incredibly versatile and can be enjoyed in a variety of ways. Whether you prefer it sweet, savory, or as a hearty side dish, your homemade loaf will shine in any setting.
Conclusion
Congratulations! You’ve successfully baked your own delicious honey wheat bread. Whether you’re a seasoned baker or trying out this recipe for the first time, there’s something incredibly satisfying about creating a fresh loaf from scratch. The slightly sweet flavor, soft texture, and nutty undertones make this bread perfect for any meal or snack.
Why You’ll Love This Honey Wheat Bread
- Nutritious and Wholesome: With the combination of whole wheat flour and honey, this bread offers a boost of fiber and natural sweetness without being overly indulgent.
- Versatile: Whether you prefer it toasted, used for sandwiches, or served alongside soups and salads, this bread is adaptable to all your meal needs.
- Easy to Make: Despite the slightly longer rise time, the process is simple and doesn’t require complicated ingredients or equipment.
- Homemade Comfort: There’s nothing quite like the smell of freshly baked bread wafting through your home. It’s a simple pleasure that adds comfort to any day.
Get Creative with Your Honey Wheat Bread
Feel free to experiment with different variations and serving suggestions to make this bread even more exciting. The recipe is a perfect base for adding your own twists, whether that’s incorporating seeds, nuts, or herbs, or pairing it with different spreads or toppings. The possibilities are endless!
Final Thoughts
Baking bread from scratch is a rewarding experience, and this honey wheat bread is sure to become a family favorite. Whether you’re baking for yourself or sharing with loved ones, there’s something truly special about homemade bread. Enjoy your freshly baked loaf with a sense of accomplishment, and most importantly—savor every delicious bite!
Happy baking, and we can’t wait to hear how your honey wheat bread turns out!
FAQs
Baking bread, especially something as delicious as honey wheat bread, can raise a few questions along the way. We’ve compiled answers to some of the most common ones to help you with your baking journey. Let’s dive in!
1. Can I use regular white flour instead of whole wheat flour?
Yes, you can! If you prefer a lighter texture, feel free to swap out the whole wheat flour for all-purpose flour. However, using 100% whole wheat flour will give your bread that rich, nutty flavor and increase its nutritional content. If you want to use a mix, try using half white and half whole wheat flour for the best of both worlds.
2. Can I make this honey wheat bread without a stand mixer?
Absolutely! Although a stand mixer simplifies the kneading process, you can easily knead the dough by hand as well Just mix the ingredients together, then knead on a lightly floured surface for about 8–10 minutes until the dough is smooth and elastic. It’s a great workout for your arms and ensures that you’re involved in every step of the process!
4. Can I freeze the dough or the baked bread?
Yes! If you want to bake in batches, freeze the dough after the first rise. Just shape it into a loaf, wrap it tightly in plastic wrap and foil, and freeze for up to 3 months. When ready to bake, let it thaw in the fridge overnight, then proceed with the second rise and baking as normal.
You can also freeze the baked bread! Slice it before freezing for convenience, and it will stay fresh for up to 3 months.
5. Why is my bread too dense?
A dense loaf can happen for several reasons, but here are a couple of common causes:
- Over-kneading: Too much kneading can tighten up the dough, making it dense. Too much flour: If you add too much flour while kneading, the dough can become stiff. Always add just enough to prevent sticking. Remember, it’s okay if the dough is slightly sticky.
- Under-rising: If your dough doesn’t have enough time to rise, the bread can turn out dense. Be sure to give it enough time to double in size during both rises.
6. How can I make the bread sweeter?
If you like a sweeter honey wheat bread, you can increase the amount of honey or even add a tablespoon of sugar. Keep in mind that a sweeter bread will change the flavor profile, so adjust based on your personal preference.
7. Can I add other ingredients like raisins, nuts, or seeds?
Definitely! This bread is very versatile. You can mix in your favorite ingredients such as raisins, dried cranberries, walnuts, sunflower seeds, or flaxseeds. Simply fold them in gently when the dough is mixed but not yet kneaded. They’ll add extra texture and flavor to the loaf.
Baking bread is an enjoyable process that allows room for personalization and creativity. We hope these answers help you on your way to perfecting your honey wheat bread! Happy baking!
Honey Wheat Bread Recipe Recap

Recipe Details:

Prep Time: 15 minutes

Cook Time: 30 minutes

Total Time: 2 hours (includes rising time)

Servings: 10 slices

Calories per Serving: 150

Nutrition Information (Per Serving):

Calories: 150

Fat: 2g

Protein: 5g

Carbohydrates: 28g

Fiber: 3g

Sugar: 6g

Sodium: 200mg

Recipe Categories:

Course: Bread

Cuisine: American

Diet: Vegetarian

Method: Baking

This quick and simple honey wheat bread recipe combines wholesome ingredients with minimal effort, making it perfect for any occasion. Happy baking! 😊
